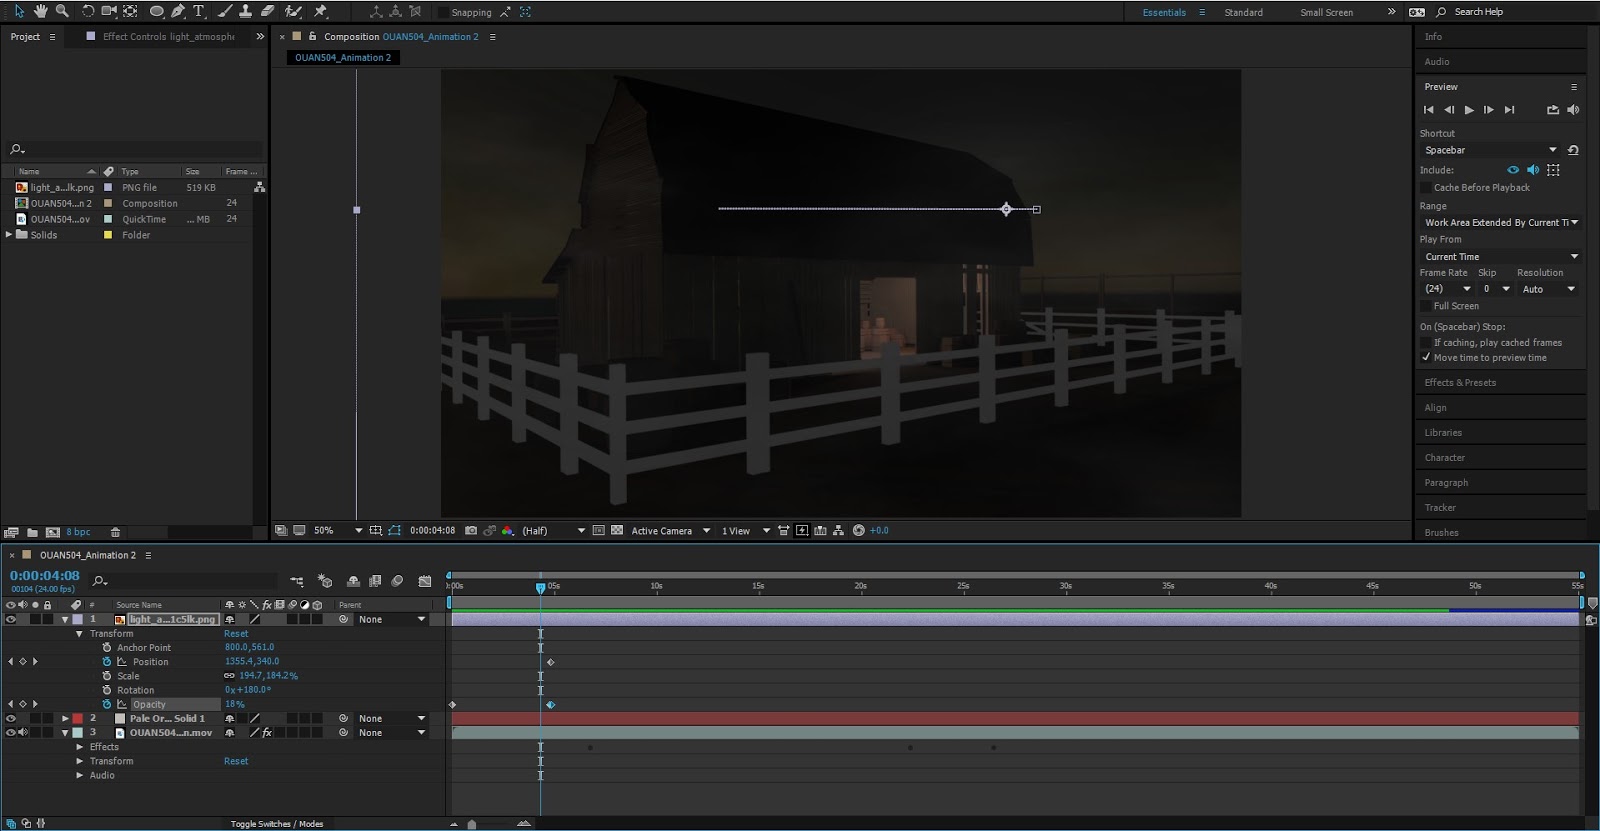
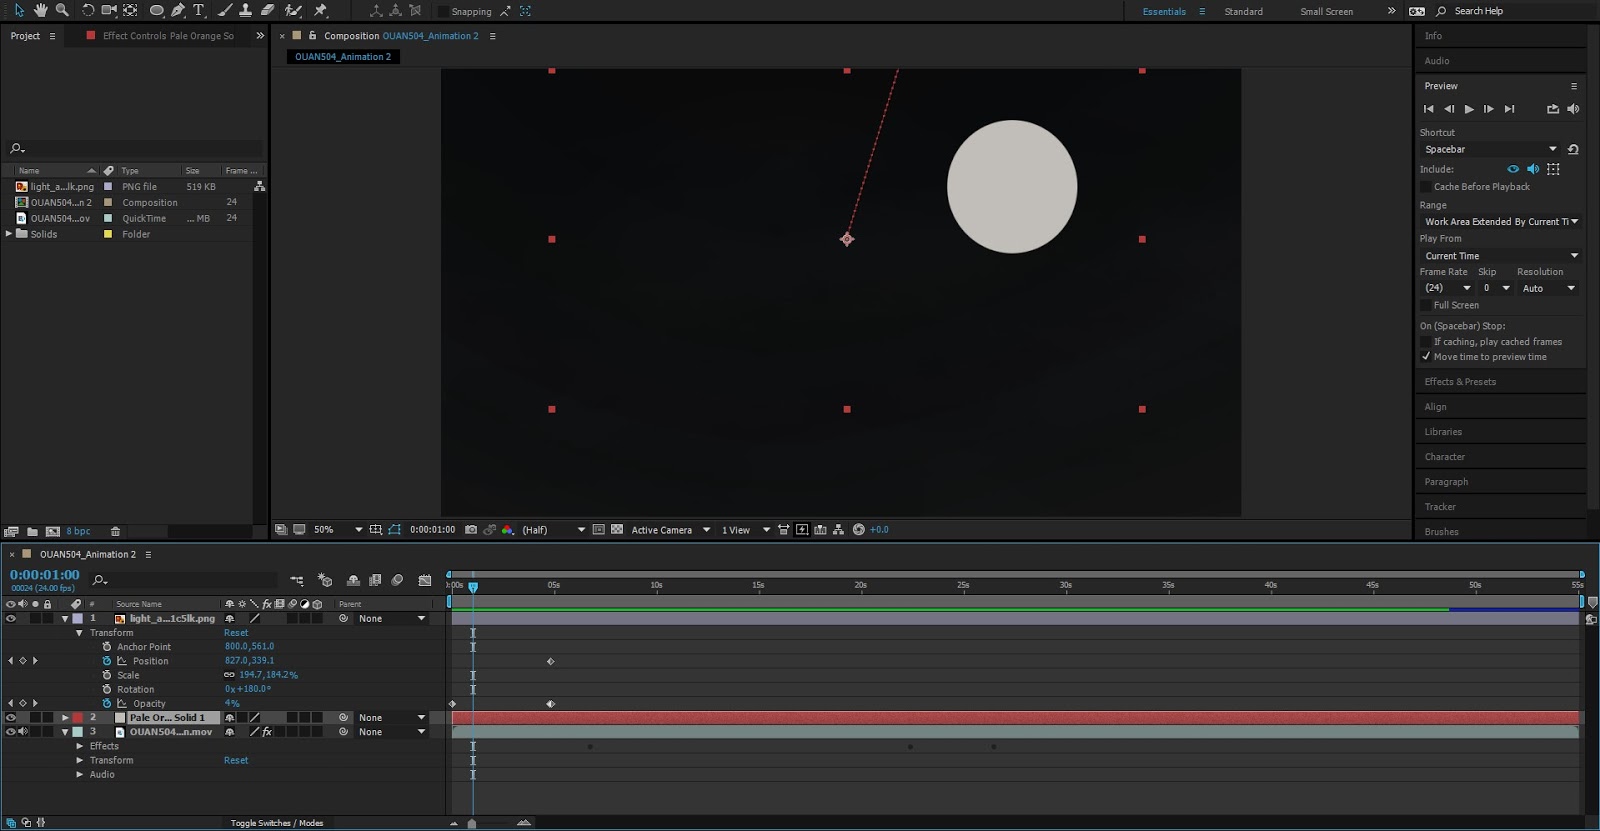
The first scene is the opening scene and the establishing shot. For this the only things I really want to add was the moon, which was what the shot pans down from and some atmospheric fog or mist to give a sense of volume and depth to the scene. I think details like this also increase the level of interaction or immersion the audience feels with the scene because of the subtle details. This was done in quite a 'rough and ready' way, I didn't have much time to complete the post production stage and so this was done by key framing the objects as they moved to coincide with the camera moving, hopefully it looks quite smooth in this sense.
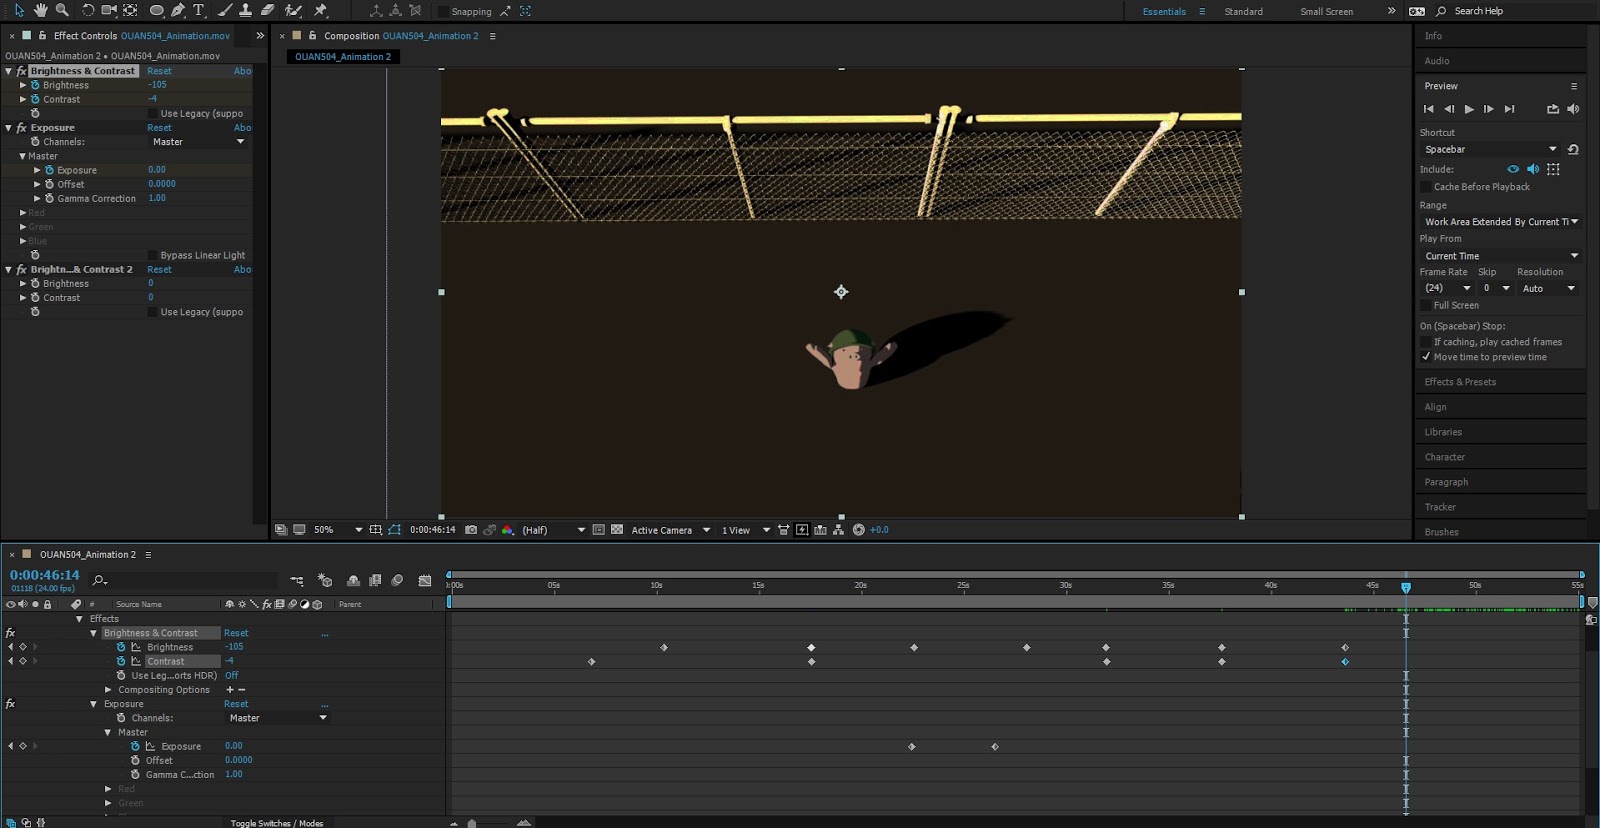
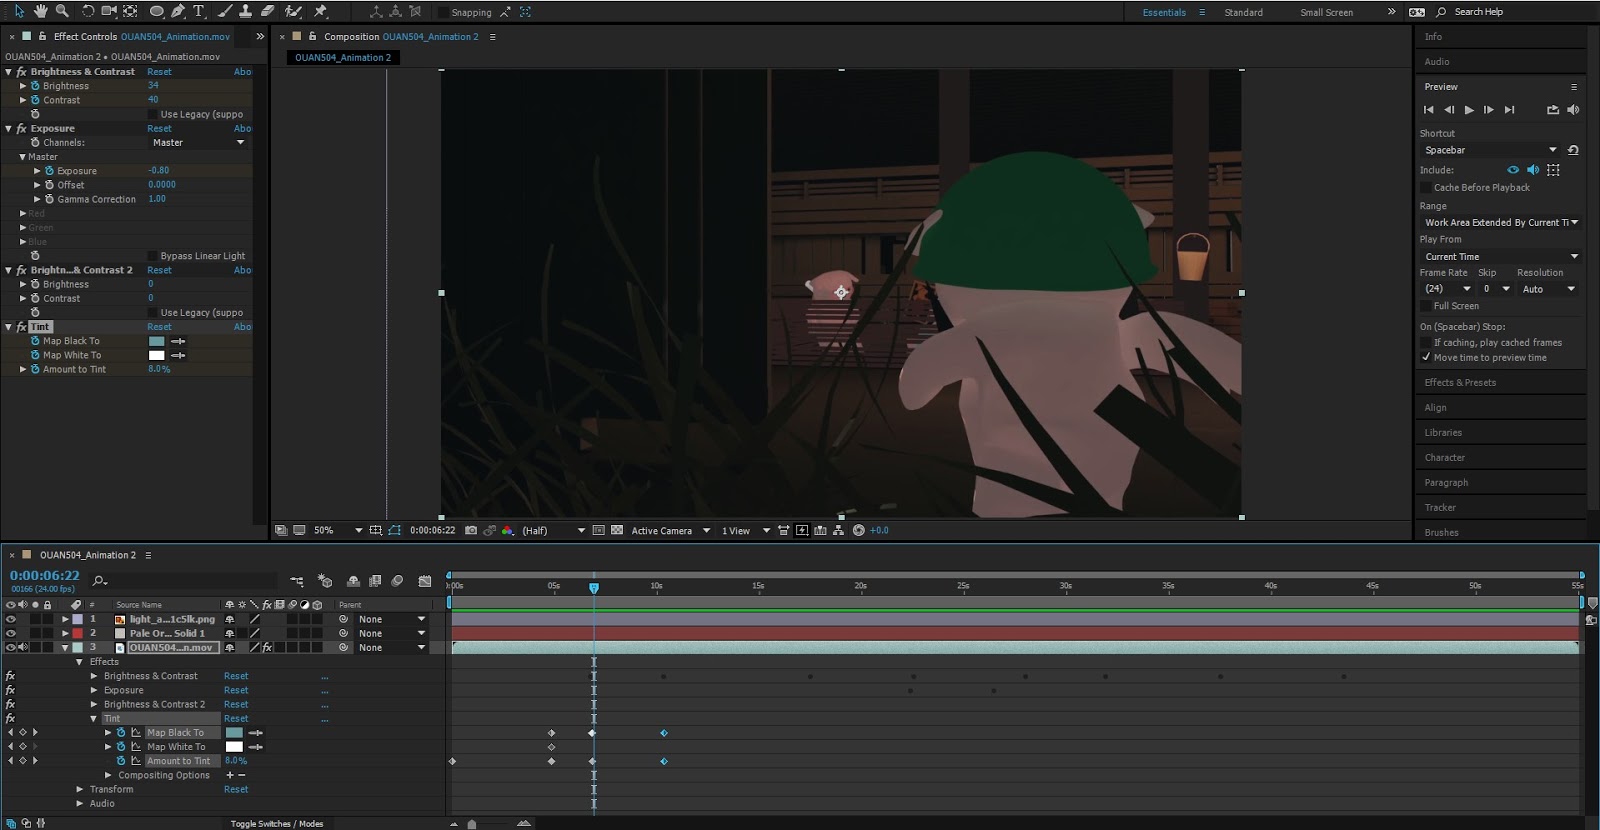
I think it quite's difficult to achieve the exact lighting you want in Maya, especially with a lot of conflicting light sources whether they are from the physical sun and sky, or artificial light bulbs. Due to this I took the time to make some simple colour adjustments on various scenes. I used the tint feature to add a sense of blue and green lighting to some scenes which felt too warm in terms of lighting, and had too much of an orange glow to them. Furthermore, scenes that felt too blue or green in colour, I added some red and orange tints to even them out further. Finally, after looking at scenes individually I felt that some were either a little too bright or a little too dark. To counter this I played around with the brightness and contrast, as well as the curves tool in order to make the levels in the scene a little more easy to look at whilst still retaining their purpose and atmosphere.
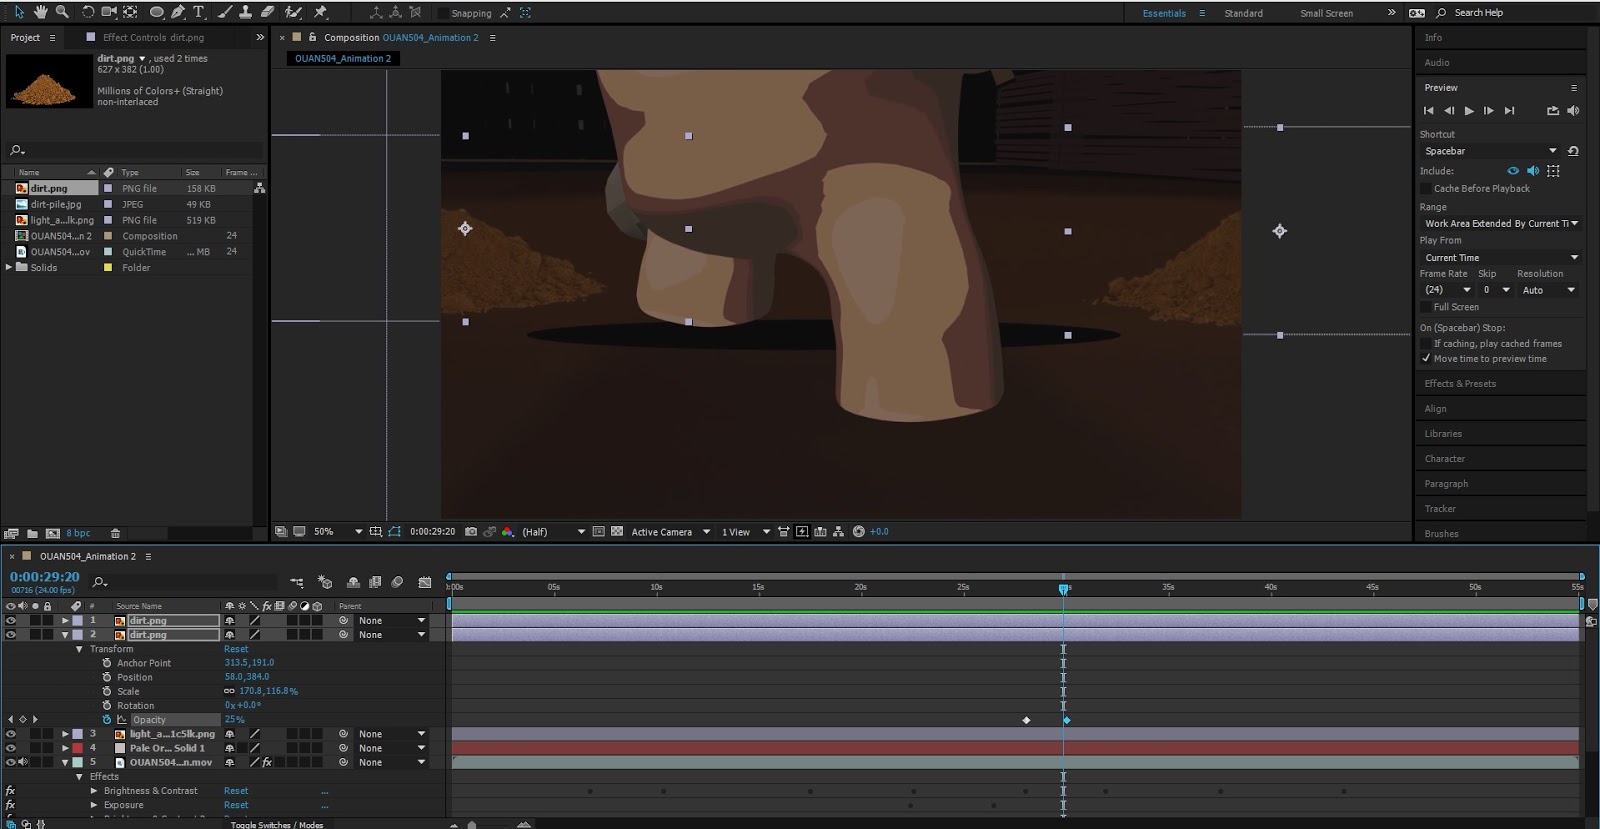
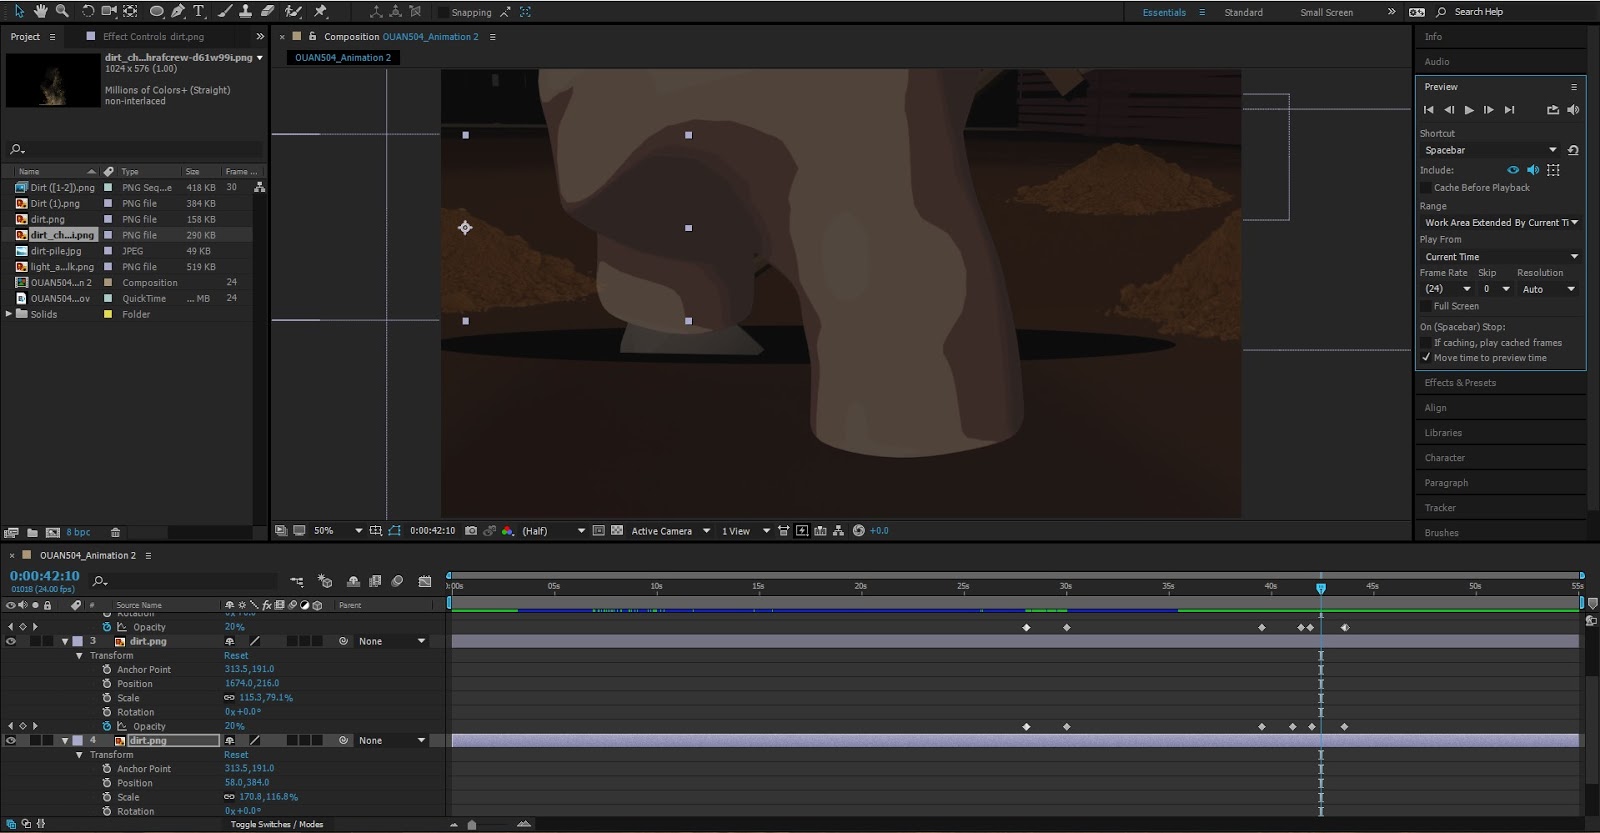
Something that made sense to include but would have been more trouble than it's worth to do in After Effects was the dirt created by the spade and the digging that takes place in our story. At our interim crit we discussed this idea with the class and the general consensus was that it would be best to add the finer details such as this in After Effects, in order to save time - so that's what we did. I took some simple free to use PNG images of dirt from the internet and used the scale and other various tools to position the dirt where it looked good. I included it in the shots where the pig is digging close up so it looks like the piles of dirt are piling up around him. The last thing I had to do to these was alter the opacity of the dirt images using key frames. This was so that it is only featured in the scenes that it is appropriate. After a bit of time this scene was complete and I was happy with the post-production process we had done to the animation.
No comments:
Post a Comment