Making of Kyoto Gakuen University TVC ~A Butterfly's Dream~ from Kohta Morie on Vimeo.
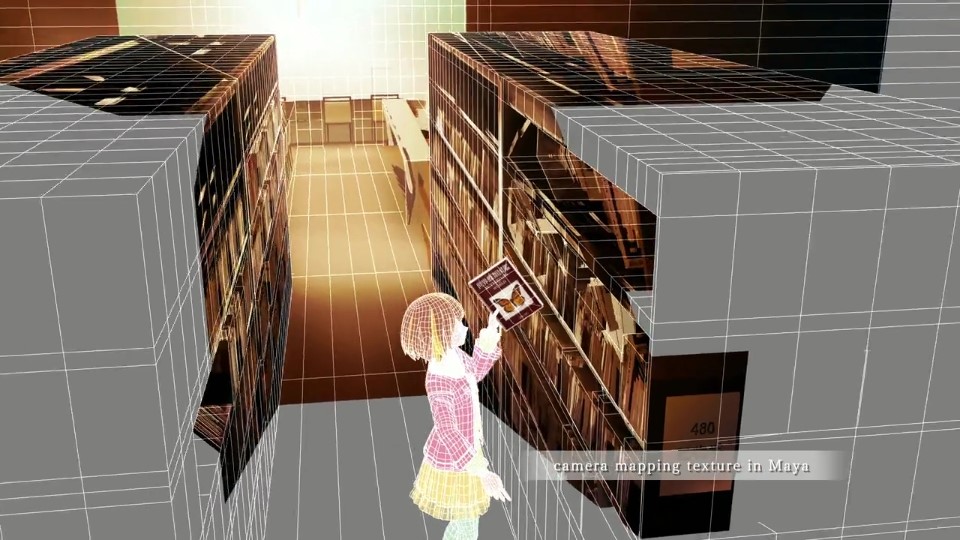
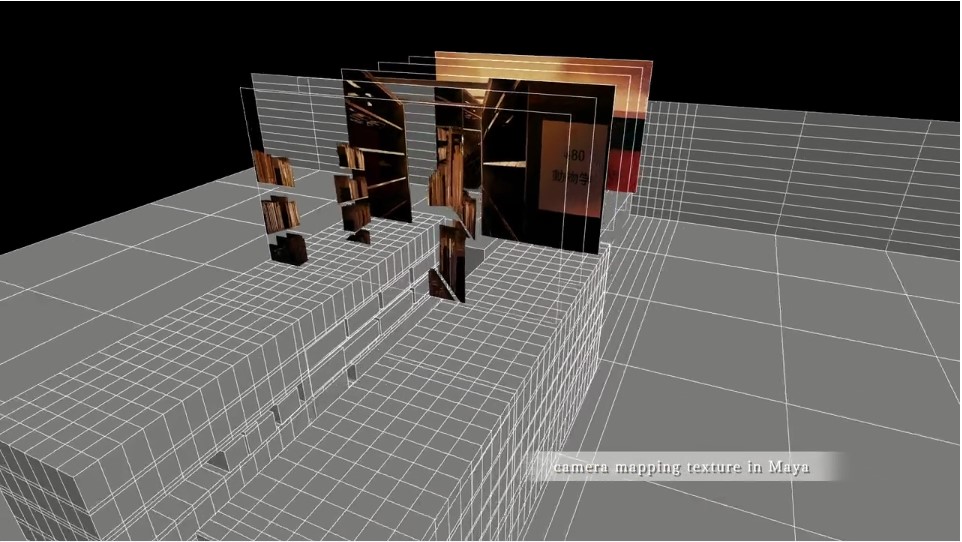
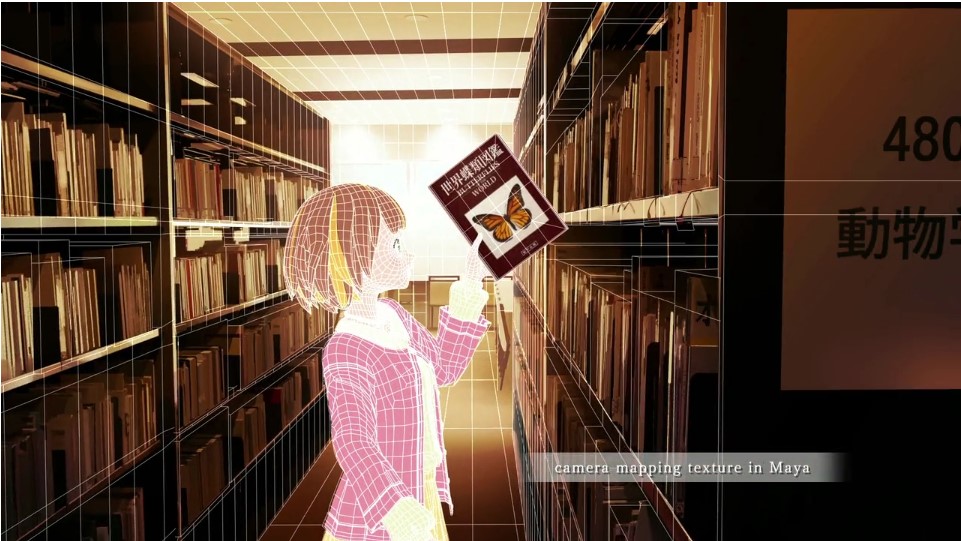
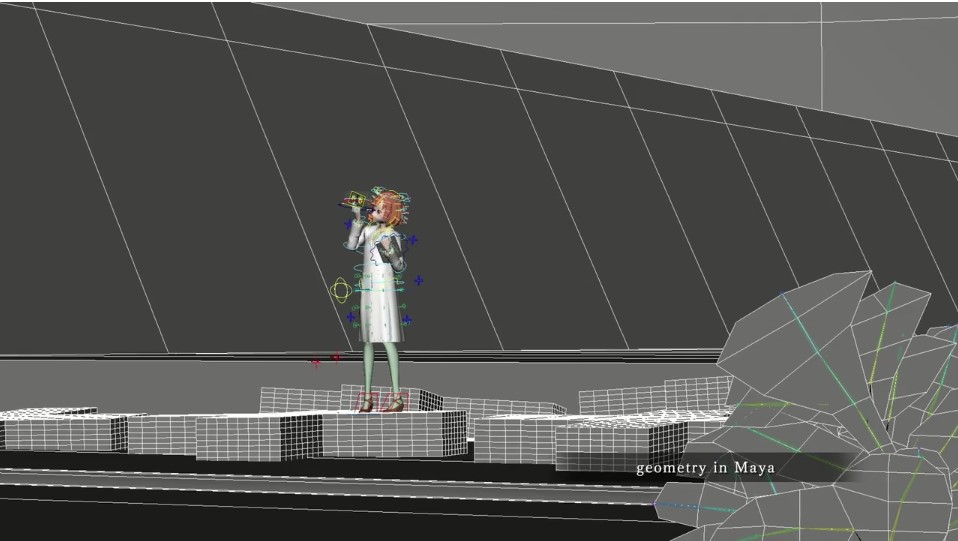
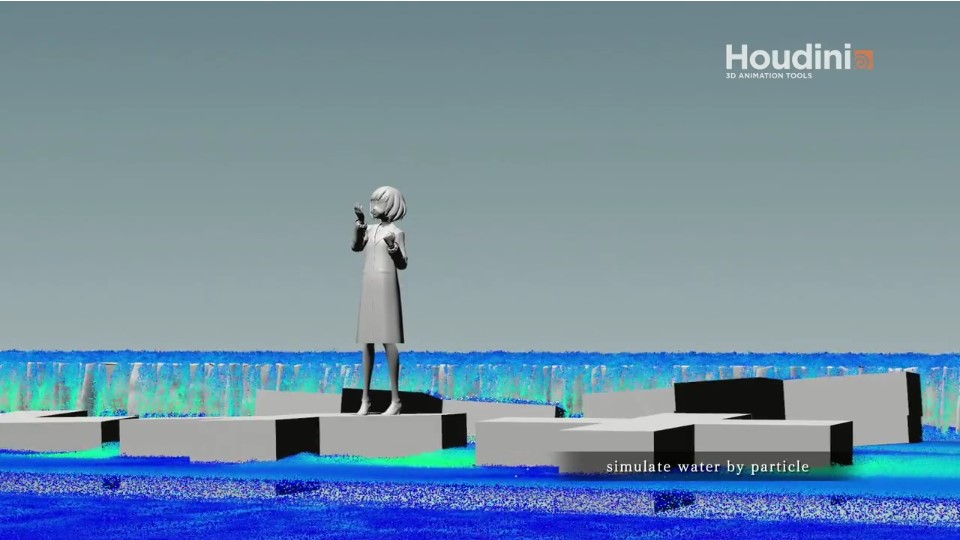
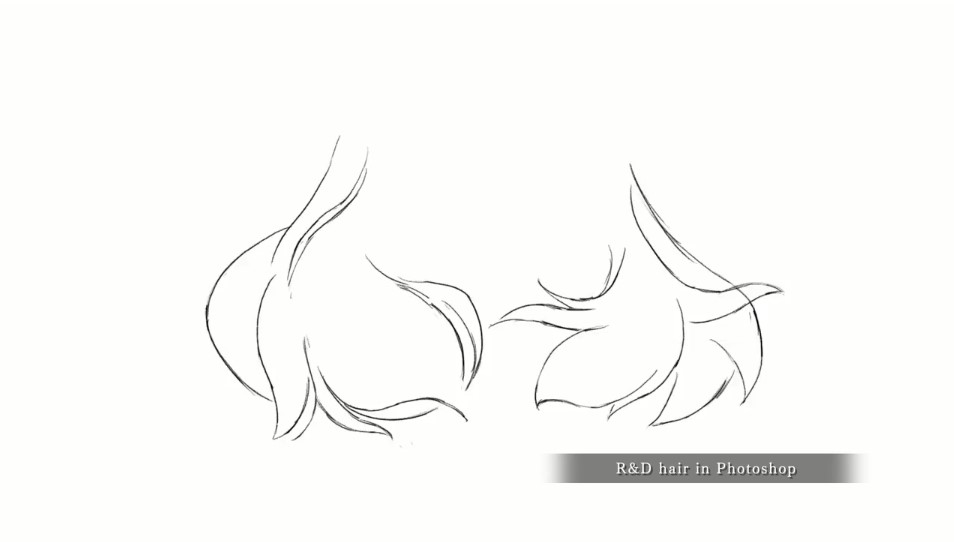
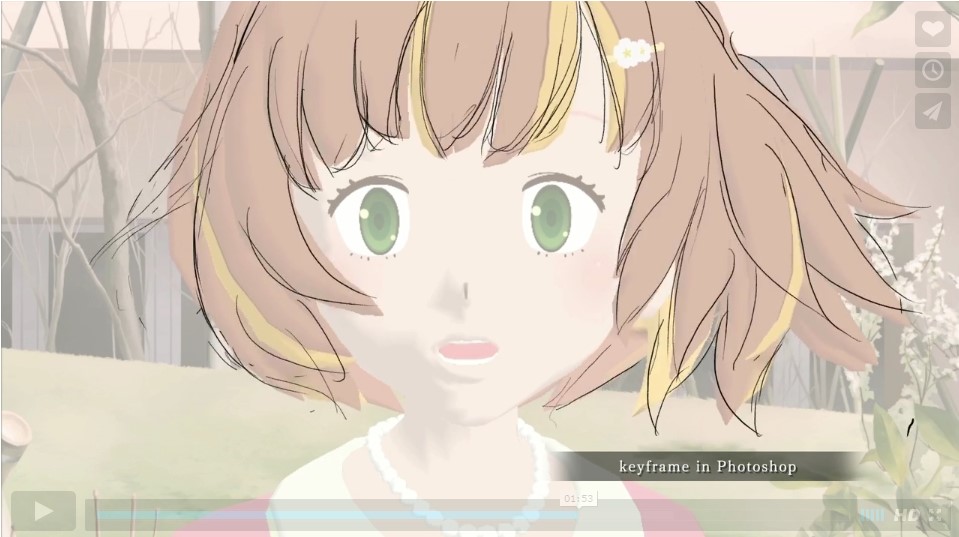
Firstly, the first scene of the animation where she's in the library is broken down and explained to the audience in a relatively thorough way. The scene is simple, but accurately modelled out using Maya. In this case since only the shelves are present in the shot along with the floor and walls, that's all that has been modelled. This is an interesting point because it shows how to save as much time as possible the scene is modelled to the point where the objects are necessary but nothing that wouldn't be in the shot has been added - this saving time. Next, a texture is mapped to the scene which includes the shelves and the books, all in the perspective of the camera. Again, I noticed this is only mapped onto the sections of the model that will be in the shot. Of course this makes a lot of sense, but it shows that any unnecessary work is again avoided and I think I'm starting to discover the importance of working as economically as possible, and this is a good example of that. The photographs used to map onto the set are kind of collaged very precisely onto the objects to make they look realistic from a certain viewpoint. Furthermore, I think these particular photographs have a nice lighting and tone to them but they weren't always like that. The photographs used for texturing were made using a base photograph which then had colour correction, composites, and other modifications applied to it in order to make it the correct tone and style of the animation. The animation here has a very stylised look to it. Specifically the environment comprises a typical realistic anime look, so very realistic and detailed, but still lacks a certain sense of authenticity that is only really present in real life. It looks fantastic nonetheless, and the scene is finished with some minor colour correction amongst smaller details such as dust particles and the character featured during the animation. The next scene that is broken down for us is a scene in which the main character is standing on a stone in the middle of a possibly man made river, with a small water fall behind it. This section did introduce me to something I had't seen demonstrated before and that is water particles, and the conversion to geometry. The first step was modelling the scene and playing the character in the correct place before a particle based water simulation is shown, which is then converted to geometry. Similar to the first scene onto the modelled environment a base texture is used before lighting, colour and other textures are layered and composited on top of each other. Going back to the first scene, a closer look at the way dust particles are created is given. This was fascinating to me personally as this is another aspect I just hadn't seen done before, but due to how common it is have wondered about before. For this, dust particles are simulated based on a 'stream' simulation which looks at airflow and how moving objects will affect this. The dust particle simulation is then replaced with the much smaller and more subtle reflective dust particles and added into the scene with the character and the setting. The hair is achieved using an interesting combination of layering 2D frame by frame animation and 3D computer generated animation in order to achieve a smooth and very good finished look. The elements of the hair are diffused and highlighted, as well as coloured with added line in order to make the efforts come together. The way these techniques are combined and demonstrated in the animation demonstrates to me how versatile animation can be, especially when combining different mediums and techniques. It also shows how certain techniques undertake certain tasks better than others. For example, this particular animator used 2D drawn animation to understand the way they wanted the hair to look, and then combined it with CG to finish it. The majority of these techniques are utilised and repeated in order to manufacture the other scenes in the animation. Overall, I thought this was an incredibly well crafted short piece of animation, and knowing the knowledge and skill that was funnelled into it makes me appreciate it even more. One of the biggest things I'll take away from it is the way different techniques across a broad spectrum of mediums even though they all come under animation can be used together to create something great if they need to be, and are as versatile as you can make them.
No comments:
Post a Comment